INFO
This article was auto-translated using ChatGPT.
Recently, I've been dabbling in WeChat Mini-Programs, writing ✍🏻️ a mini-program application for personal book management.
In the 21st century, almost all applications have icons. Icons reduce the user's learning curve and increase operation speed. Often, human ability to read text is slightly inferior compared to images. Therefore, application operation buttons typically come with an approximate icon. Naturally, icons must also be used in mini-program development.
Starting from October 2019, Apple officially introduced Dark Mode in iOS 13, signaling that dark mode for mobile operating systems would be a major trend.
The inclusion of Dark Mode means that when developing an application, we need to consider adapting the application for dark mode to create a better product. So, in this mini-program, I attempted to adapt it for dark mode, but I encountered an issue: the color change of icons. If we don't need to adapt for dark mode, we only need single-color icons. However, for dark mode adaptation, we need to adjust the icon colors accordingly.
At this point, my immediate solution was to save two sets of icons (different colors) in the program and display different colored icons based on the current color mode. However, this solution has a problem: when image files increase, they can take up a lot of space. A mini-program's maximum space is only 2MB, and if it exceeds this, split package loading needs to be considered!
So, I started exploring a solution that could directly modify icon colors.
Solution one: I intended to use custom components to solve this problem, but it ultimately failed due to some official bugs. The idea was to use custom components to read the file via its path, modify the fill color parameter within the file, and thus change the SVG color.
Since solution one failed, after continuous searching, I found another solution, solution two, from Originally_M.
Steps:
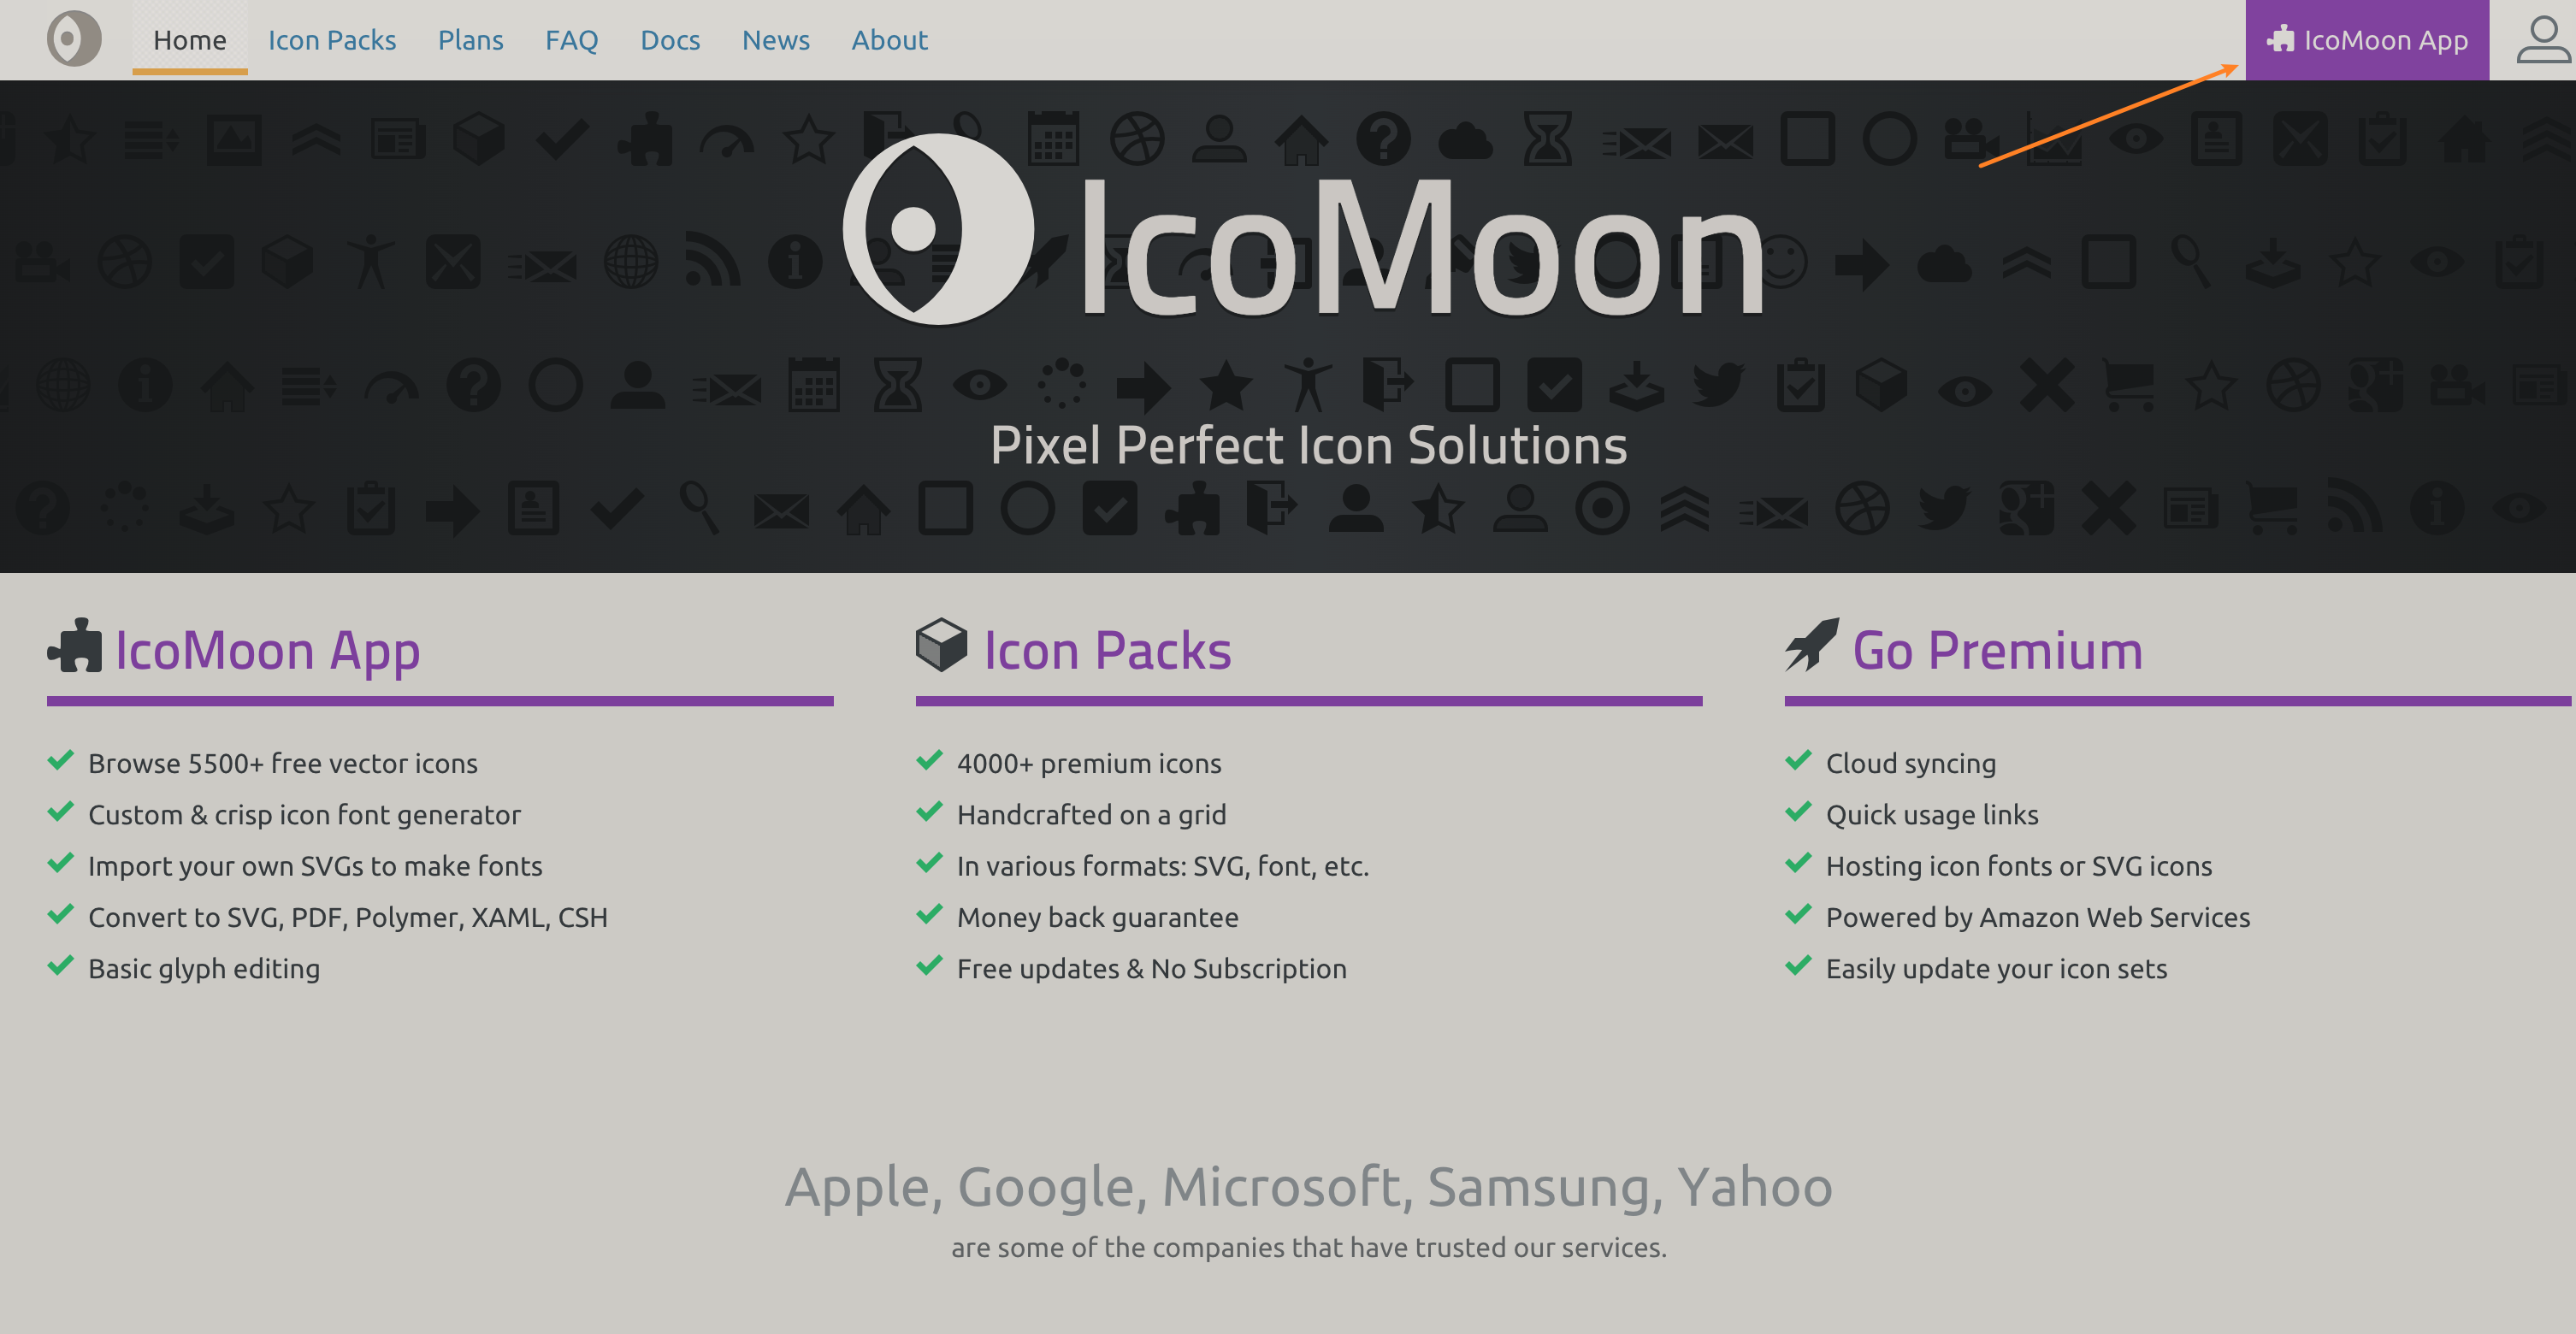
Go to https://icomoon.io and click where indicated in the image below:
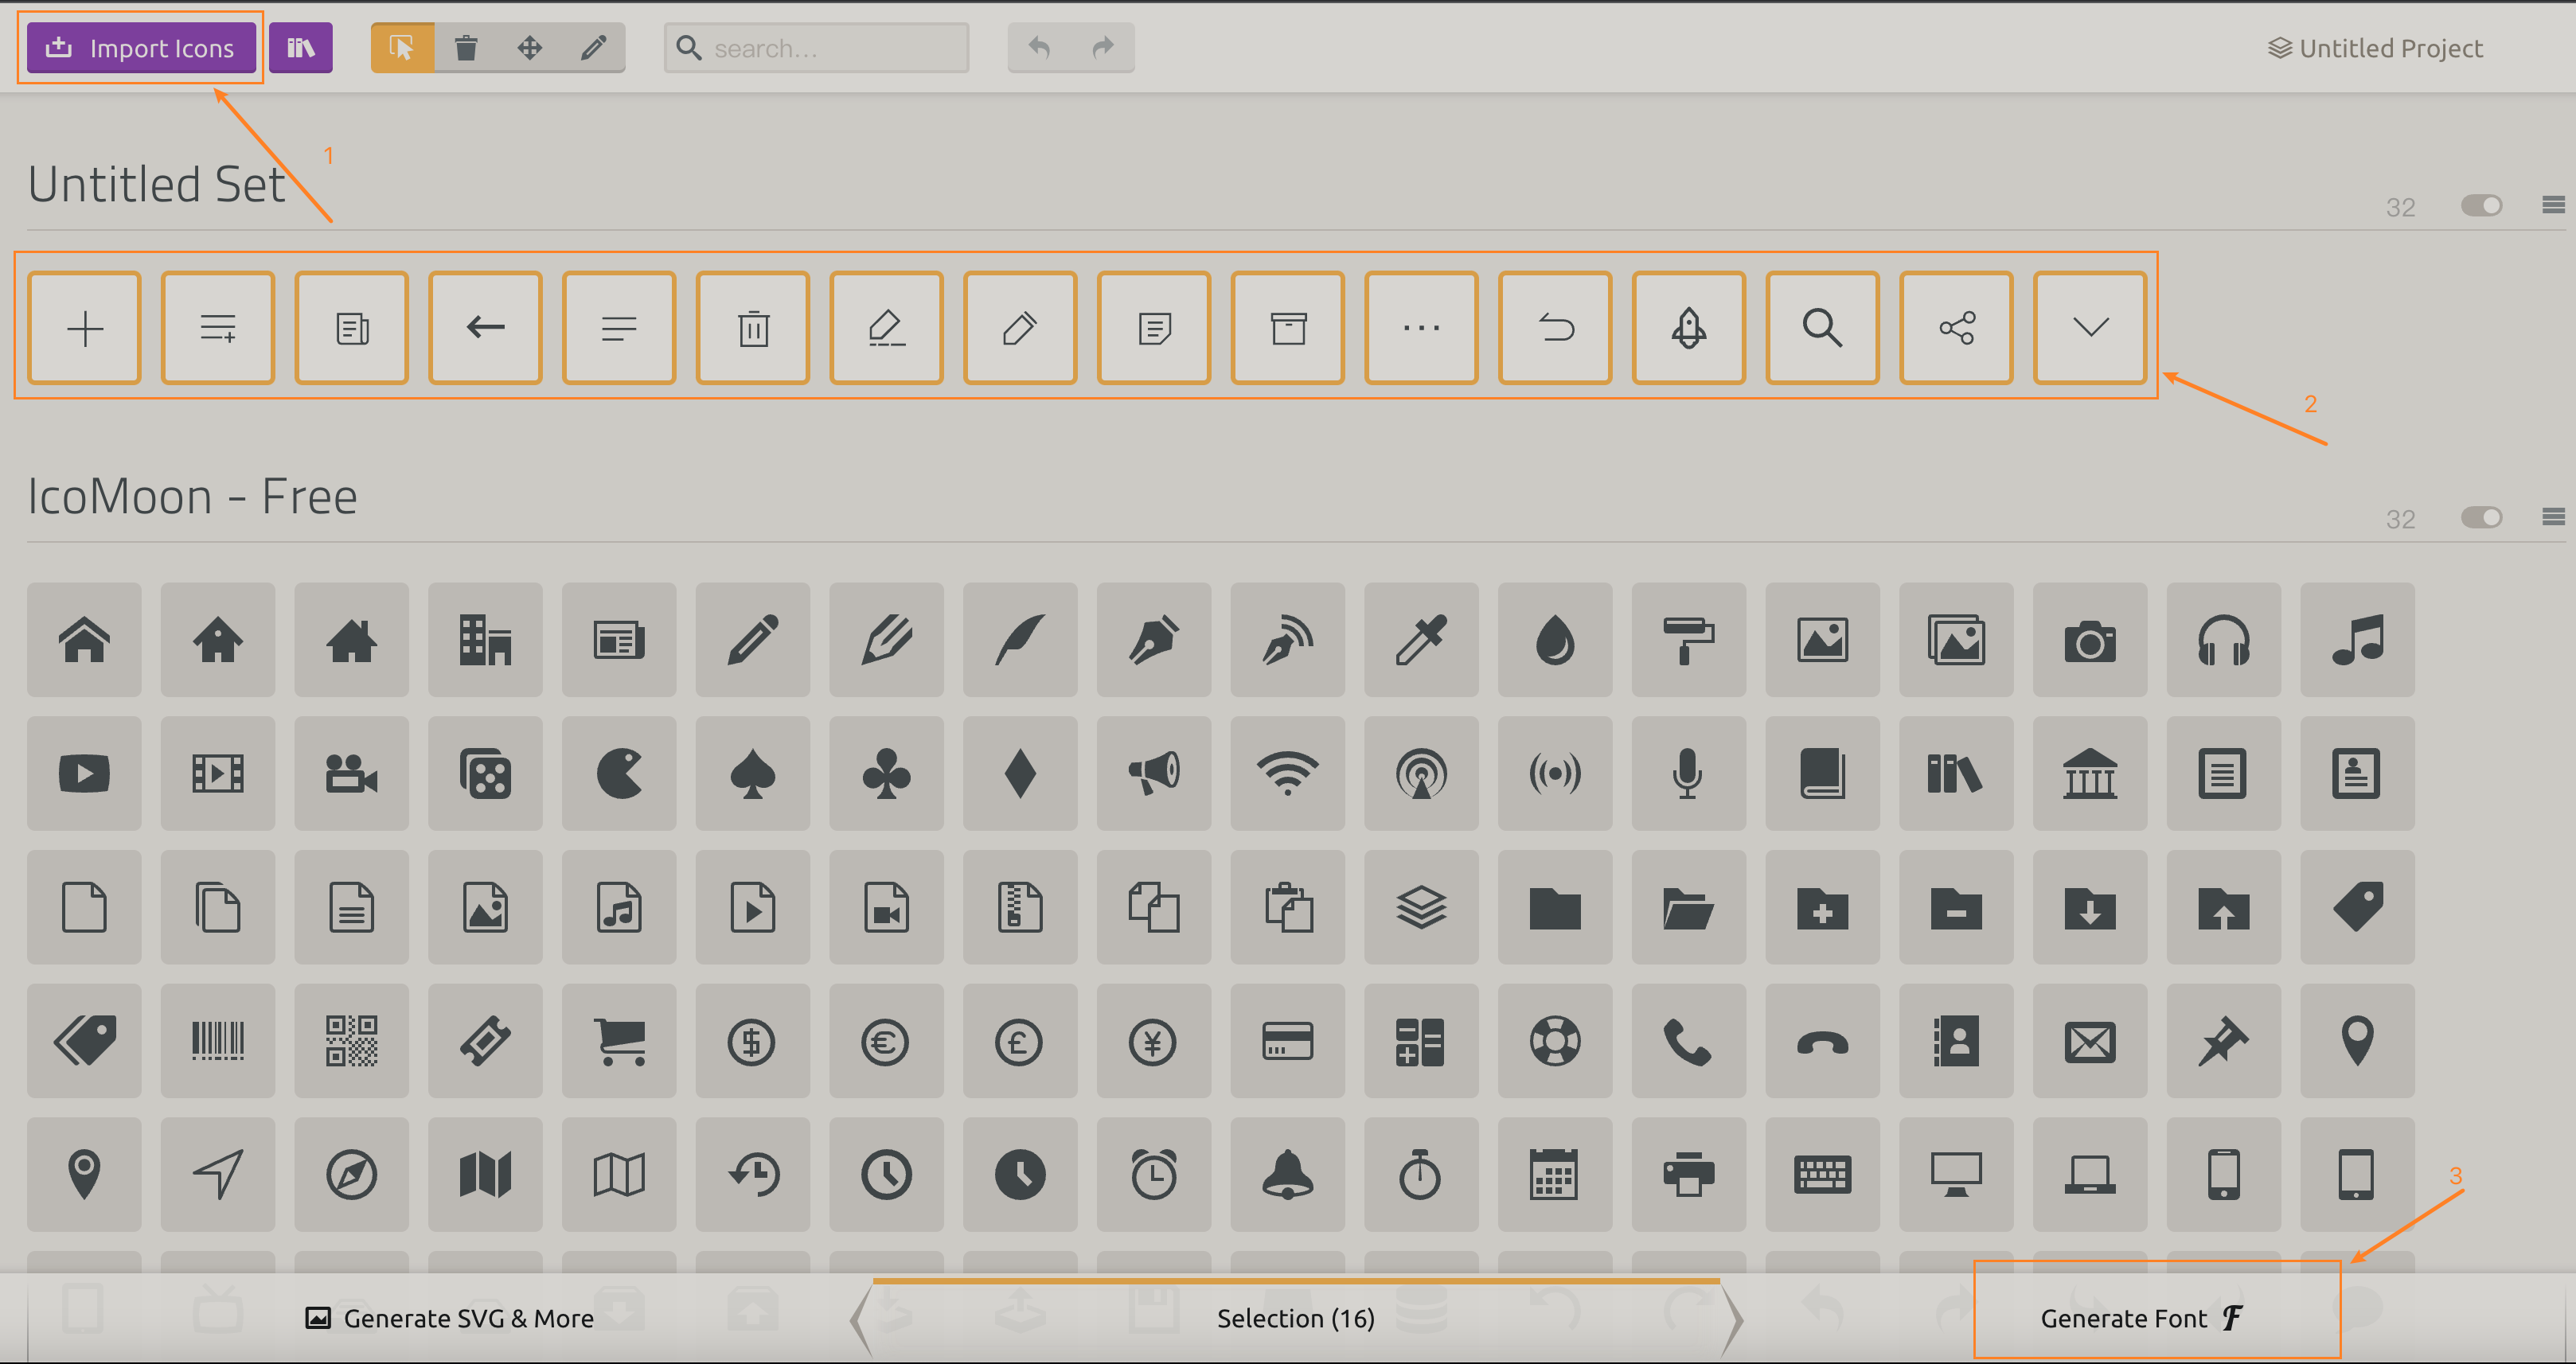
Follow these steps:
- Click the area pointed by arrow 1 to import the local icon files to be generated.
- Click the area pointed by arrow 2 to select the icons to be generated.
- Click the area pointed by arrow 3 to generate the corresponding files.
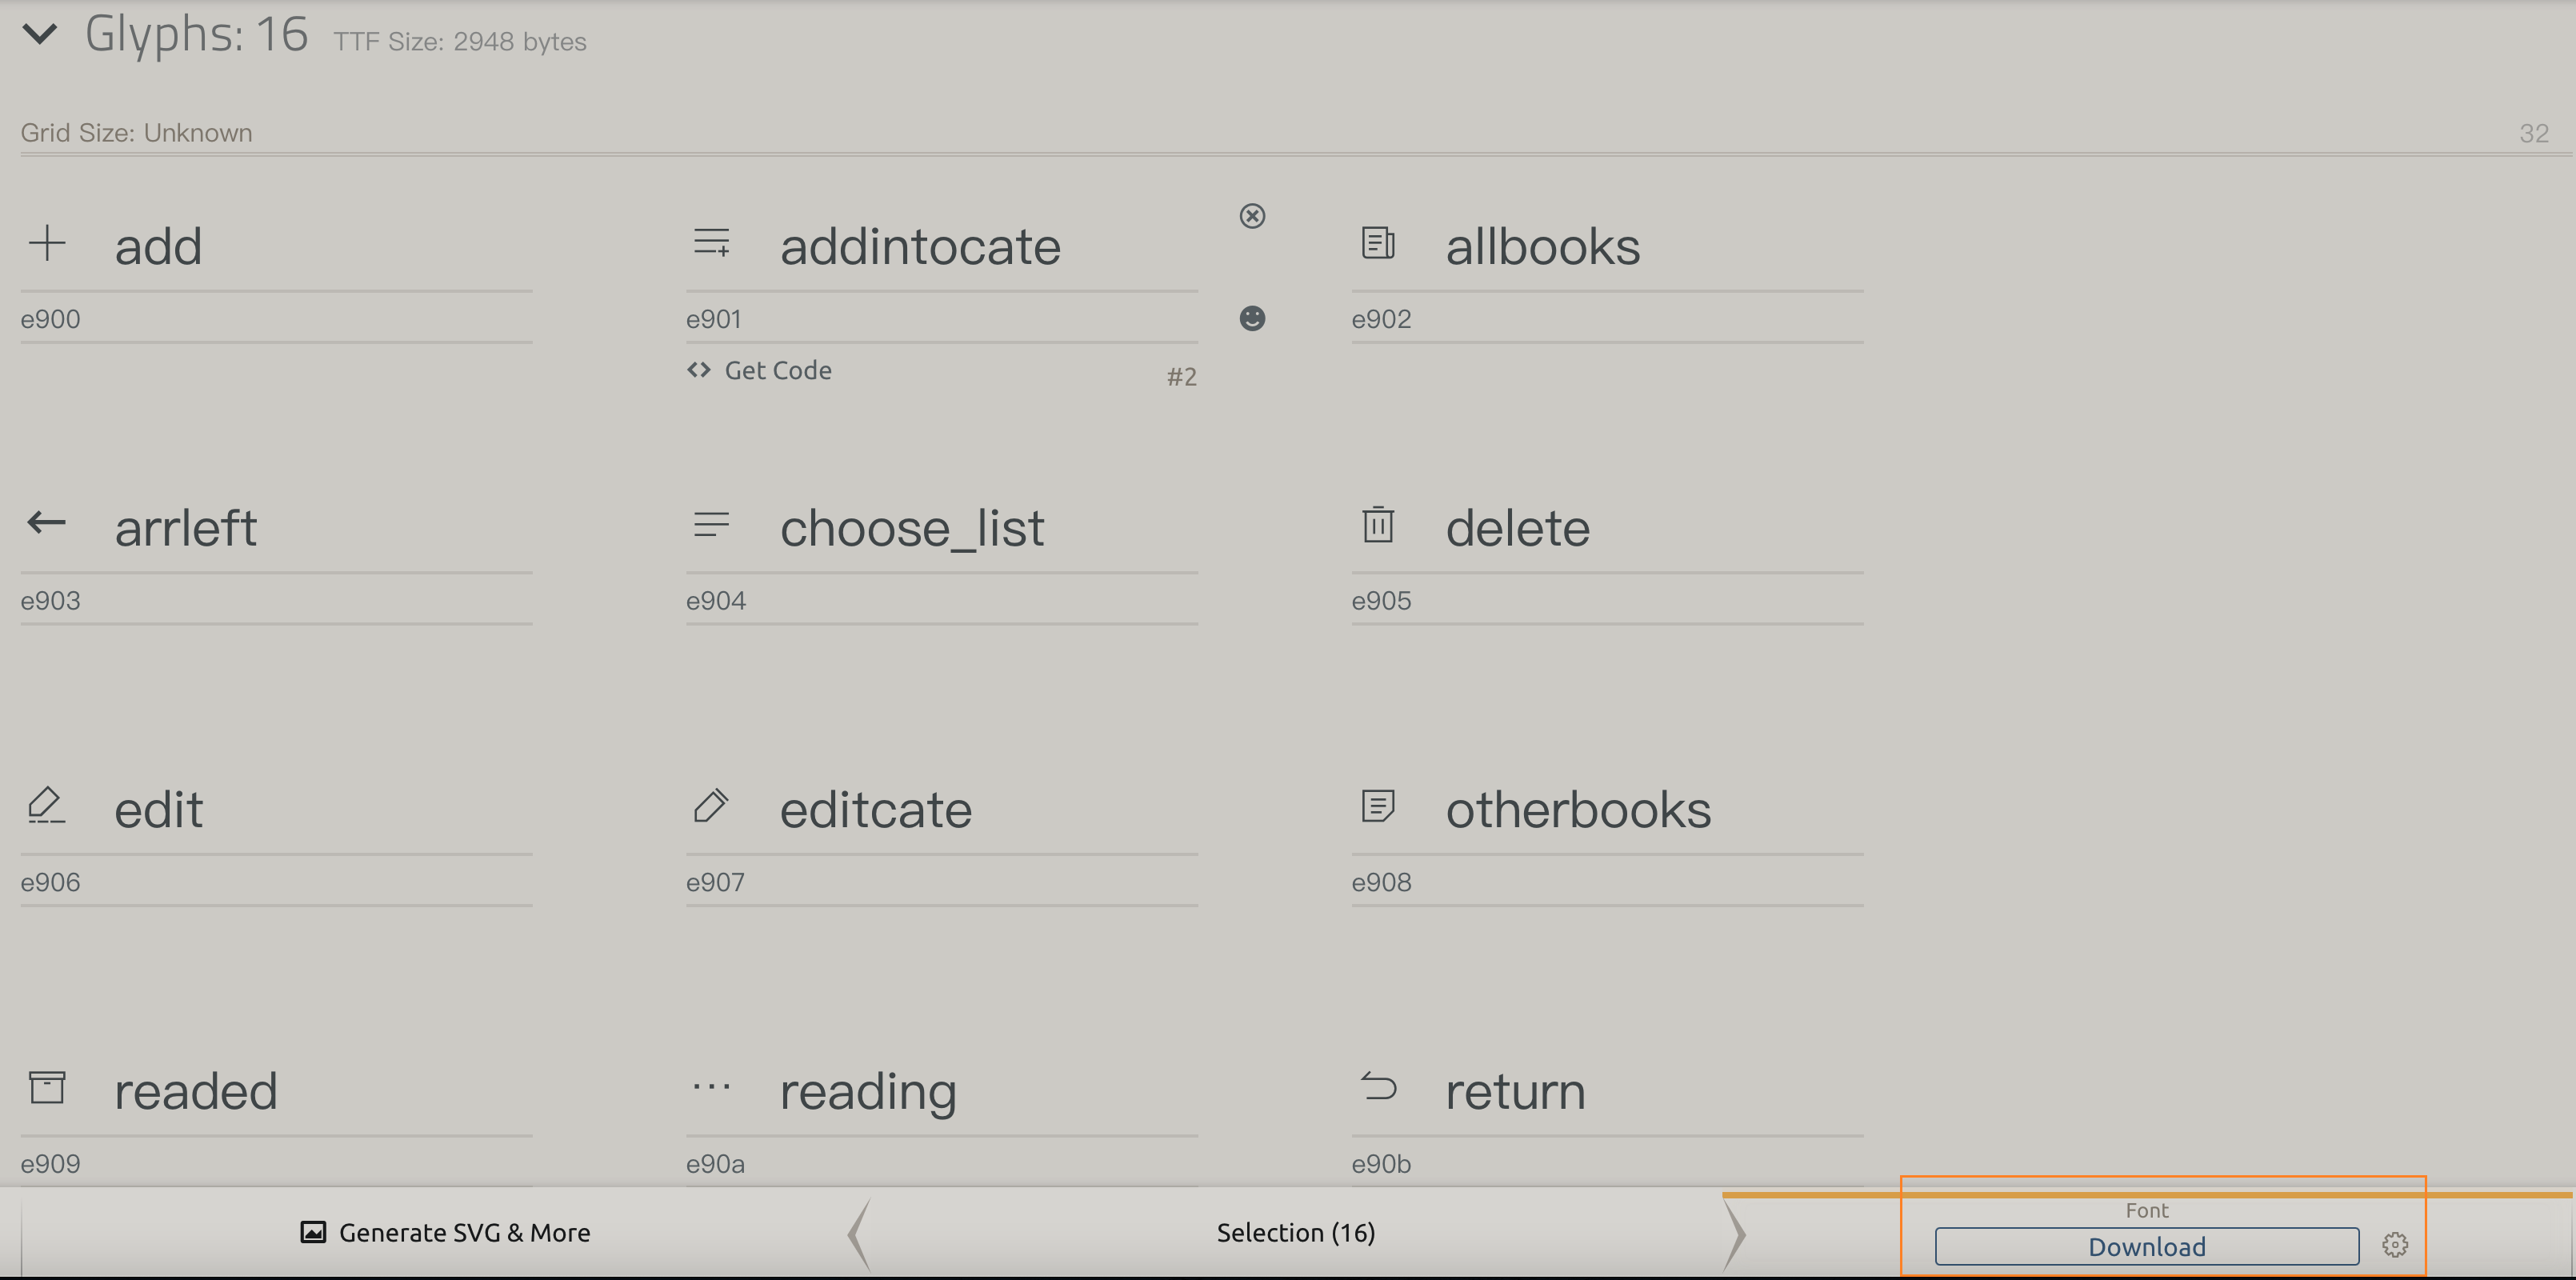
After naming the icons, click 'Download' in the bottom right corner.
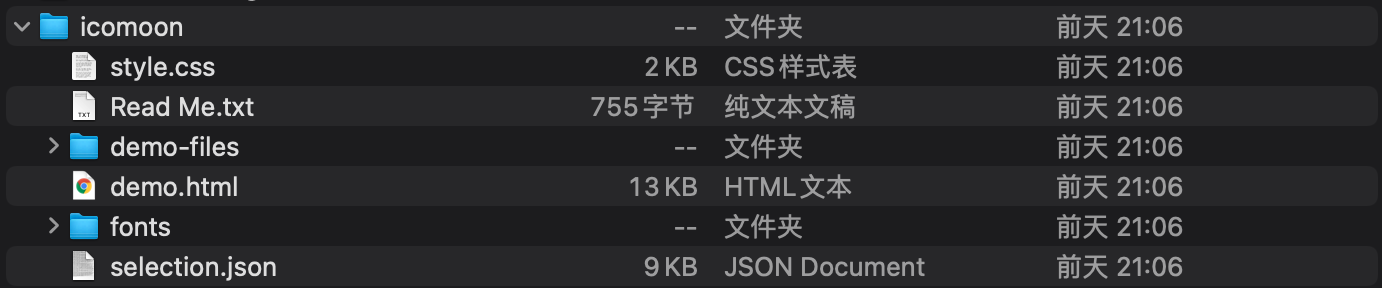
Unzip the downloaded archive to get the following file contents:
Convert to base64. Open https://transfonter.org, click
Add fonts, and import theicomoon.ttffile from thefontsfolder within the unzipped folder from the previous step.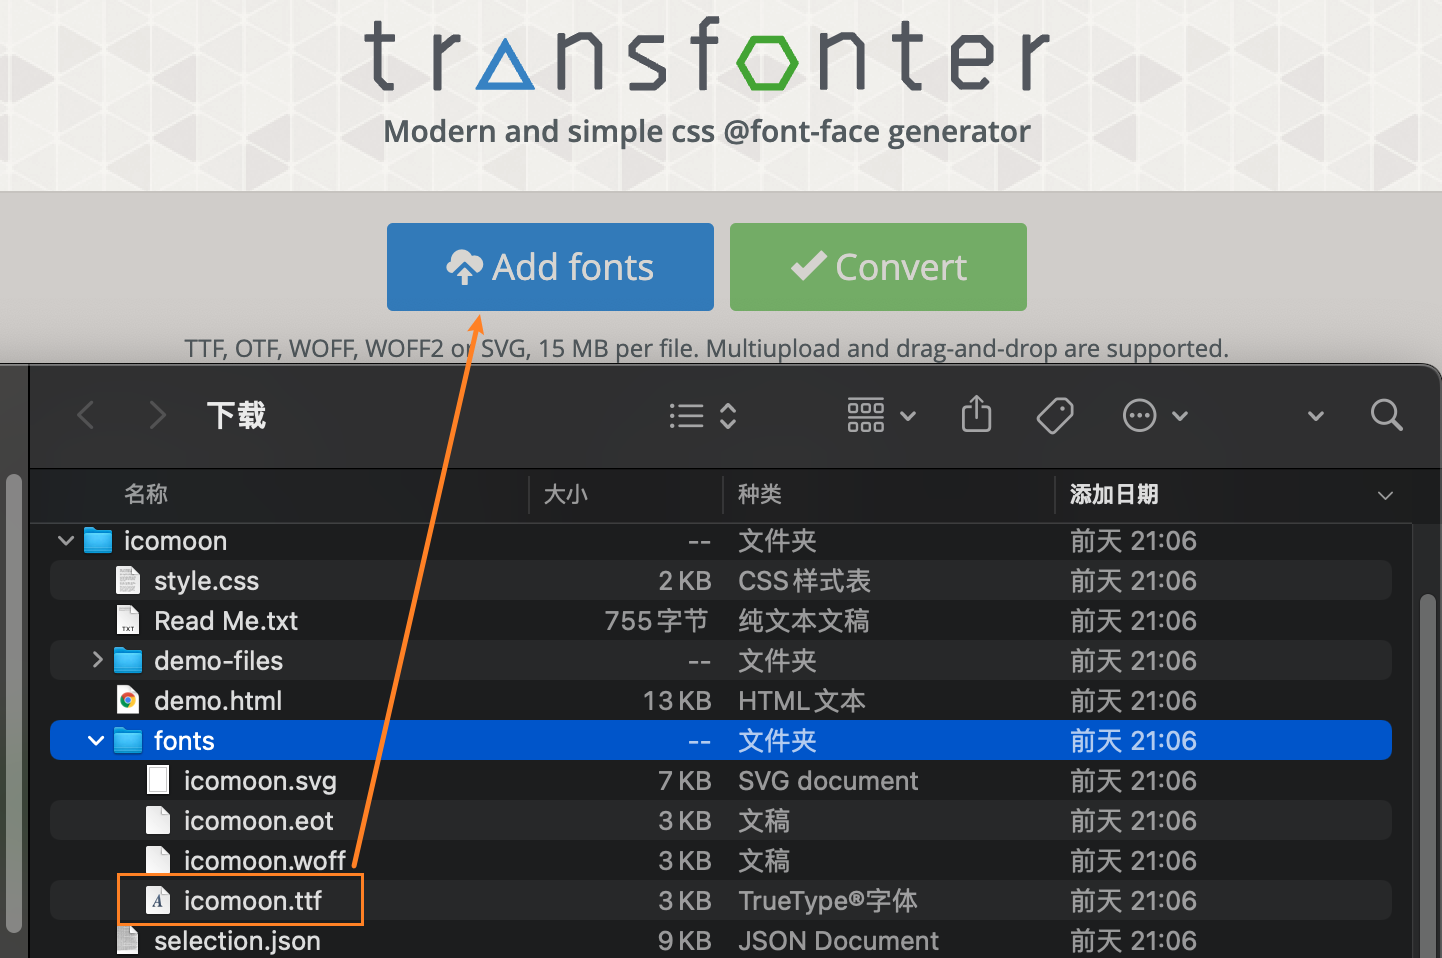
After configuring as shown, click
Convert, then clickDownloadto complete the conversion.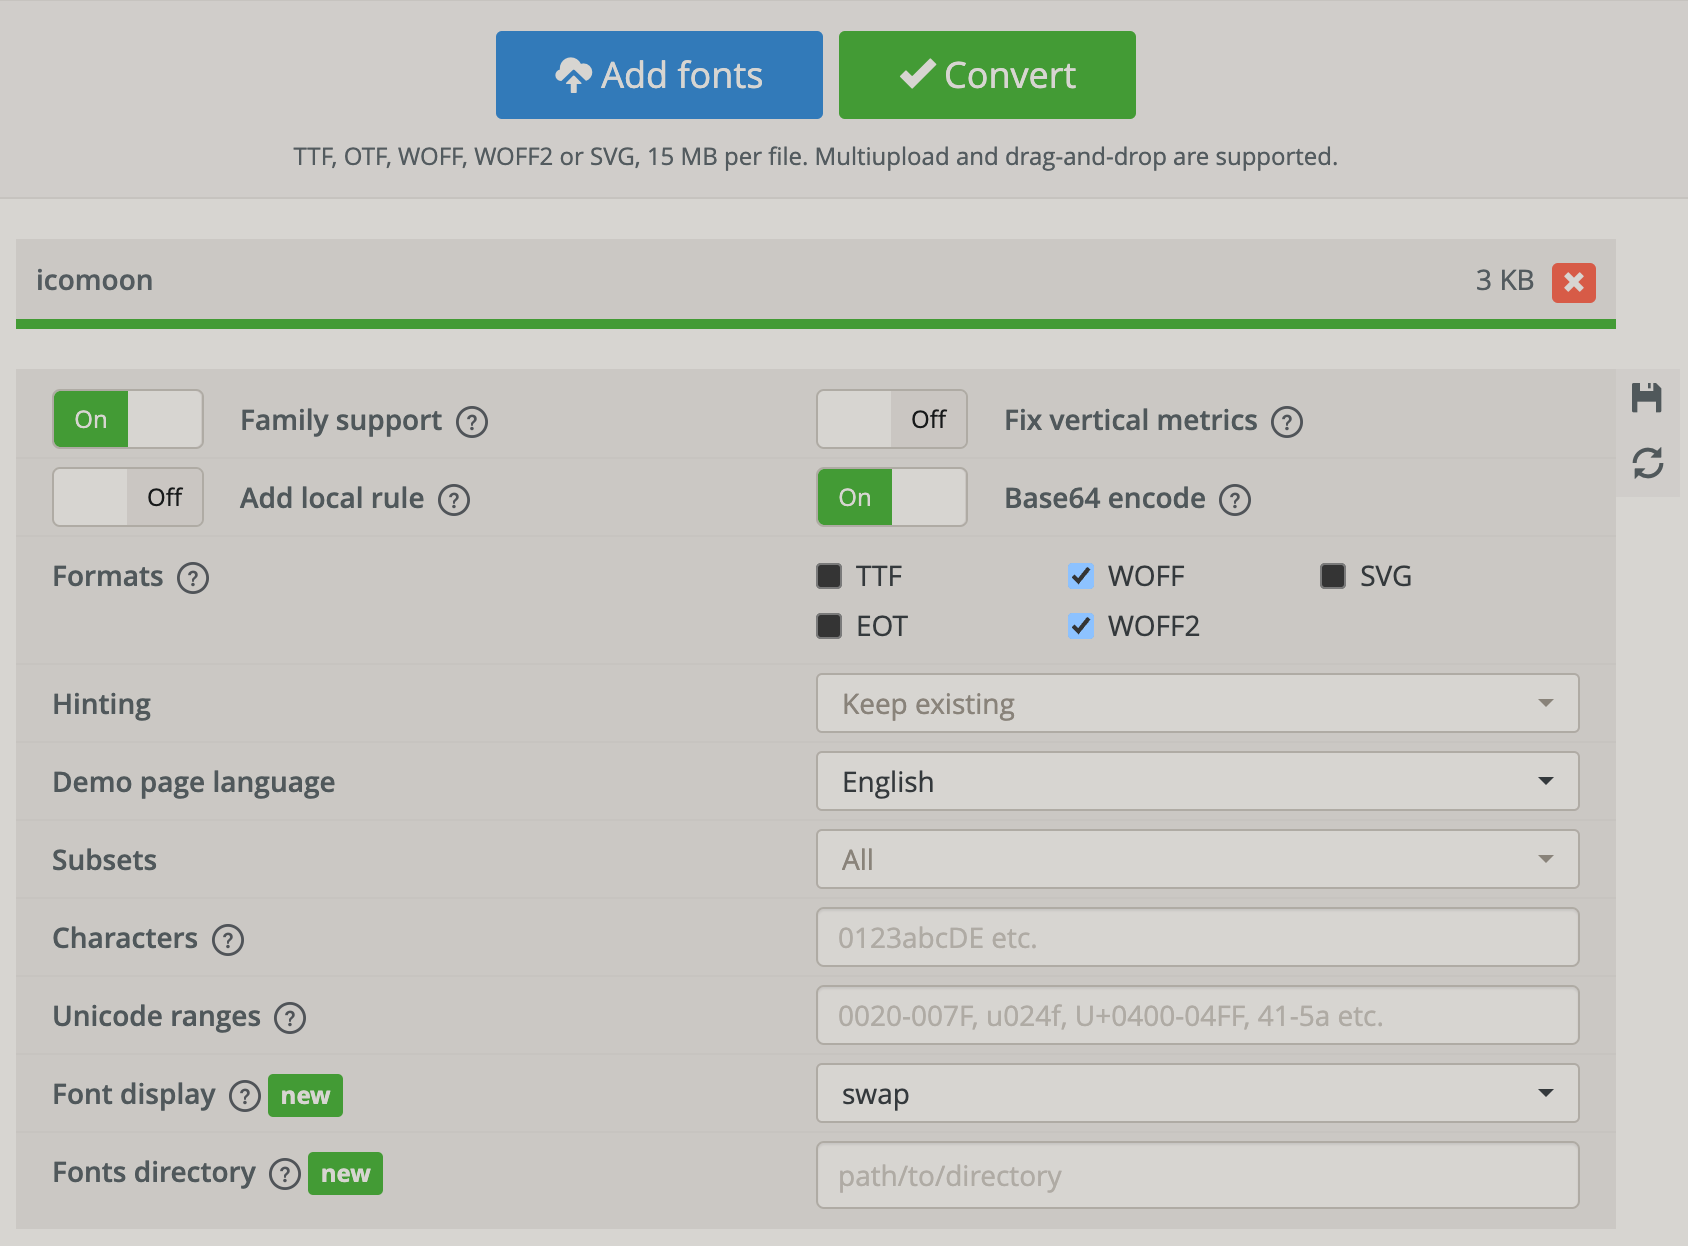
Unzip the folder downloaded in the previous step. Then, paste the
stylesheet.cssfrom the unzipped folder intoapp.wxss. Also, paste the content fromstyle.css(from the folder unzipped in step 4), starting from[class^="icon-"], [class*=" icon-"] {, intoapp.wxss.Then, in the WeChat Mini-Program, reference the corresponding
classas shown below. You can change the color using thecolorproperty. Note: At this point, the icon is referenced as text, so to adjust the icon's size, you should use thefont-sizeproperty. Example:html// wxml structure file: <view class="icon-add"></view>css// wxss style file: .icon-copy { font-size: 30px; color: #000000; }
Supplement:
Sometimes, we need to use this icon in a custom component. We just need to paste the content from [class^="icon-"], [class*=" icon-"] into the required icon's class and then paste it into the wxss of the custom component where it's needed, as follows:
.icon-add:before {
  font-family: "icomoon" !important;
  speak: never;
  font-style: normal;
  font-weight: normal;
  font-variant: normal;
  text-transform: none;
  line-height: 1;

  -webkit-font-smoothing: antialiased;
  -moz-osx-font-smoothing: grayscale;
  content: "\e900";
}