不使用 XML 配置 Spring MVC 项目
这个学期开始学习 Spring 框架,在学习 Spring MVC 项目的时候我一开始是使用的 Spring Boot 但是后来老师说不能用这个,因为学的不是这个要是在期末考试的时候使用这个的话不会给分,于是我只能转回最原始的状态。
我之前之所以使用 Spring Boot 是因为我不想写 XML,于是在被迫不能使用 Spring Boot 之后我需要找到一个不用 XML 的方法来设置 Spring MVC 项目。
于是我在网上搜索了一番发现了这个视频 (opens new window),根据这个视频整理了如下教程。
⚠️ 要求 Servlet > 3.0+
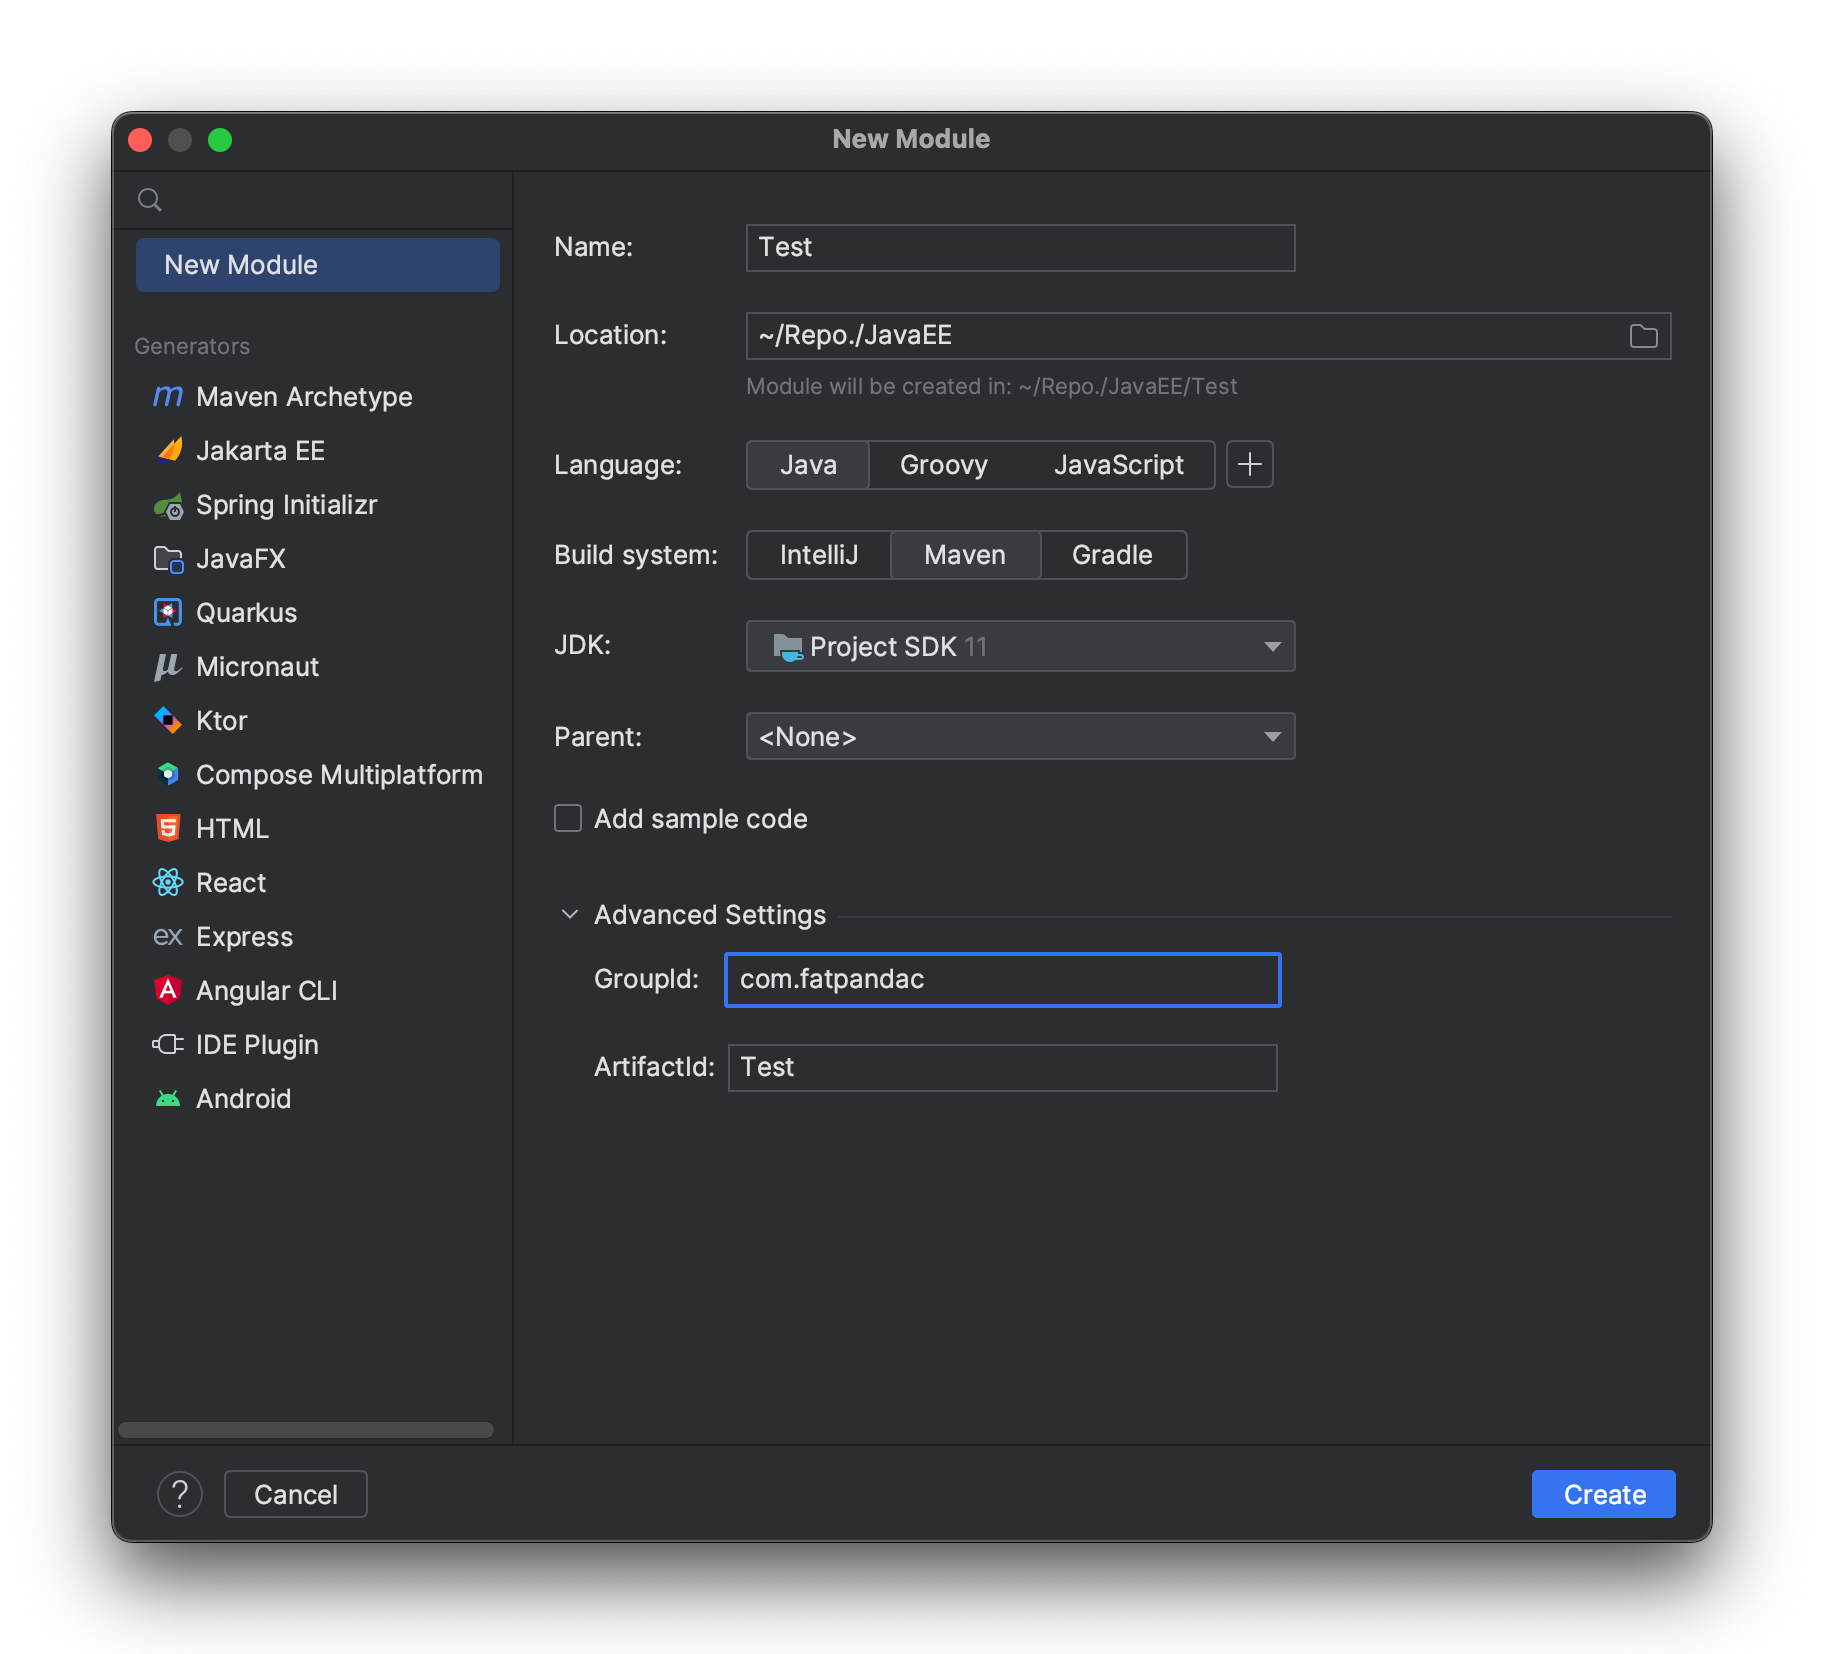
# Step 1: 创建一个普通的 Maven 项目
# Step 2: 配置 pom.xml 如下,添加 spring mvc 和 servlet 依赖,并将文件打包为 war
<?xml version="1.0" encoding="UTF-8"?>
<project xmlns="http://maven.apache.org/POM/4.0.0"
         xmlns:xsi="http://www.w3.org/2001/XMLSchema-instance"
         xsi:schemaLocation="http://maven.apache.org/POM/4.0.0 http://maven.apache.org/xsd/maven-4.0.0.xsd">
    <modelVersion>4.0.0</modelVersion>

    <groupId>com.fatpandac</groupId>
    <artifactId>Test</artifactId>
    <packaging>war</packaging>
    <version>1.0-SNAPSHOT</version>

    <dependencies>
        <dependency>
            <groupId>javax.servlet</groupId>
            <artifactId>javax.servlet-api</artifactId>
            <version>4.0.1</version>
        </dependency>
        <dependency>
            <groupId>org.springframework</groupId>
            <artifactId>spring-webmvc</artifactId>
            <version>5.3.23</version>
        </dependency>
    </dependencies>

    <properties>
        <maven.compiler.source>11</maven.compiler.source>
        <maven.compiler.target>11</maven.compiler.target>
        <project.build.sourceEncoding>UTF-8</project.build.sourceEncoding>
    </properties>

    <build>
        <finalName>Lab7</finalName>
    </build>
</project>
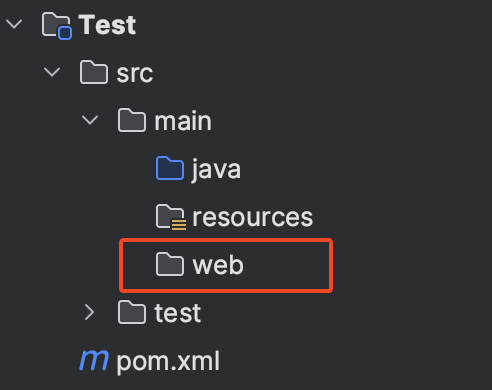
# Step 3: 创建一个文件夹放置网页文件,这里创建一个名为 web 的文件来放置。
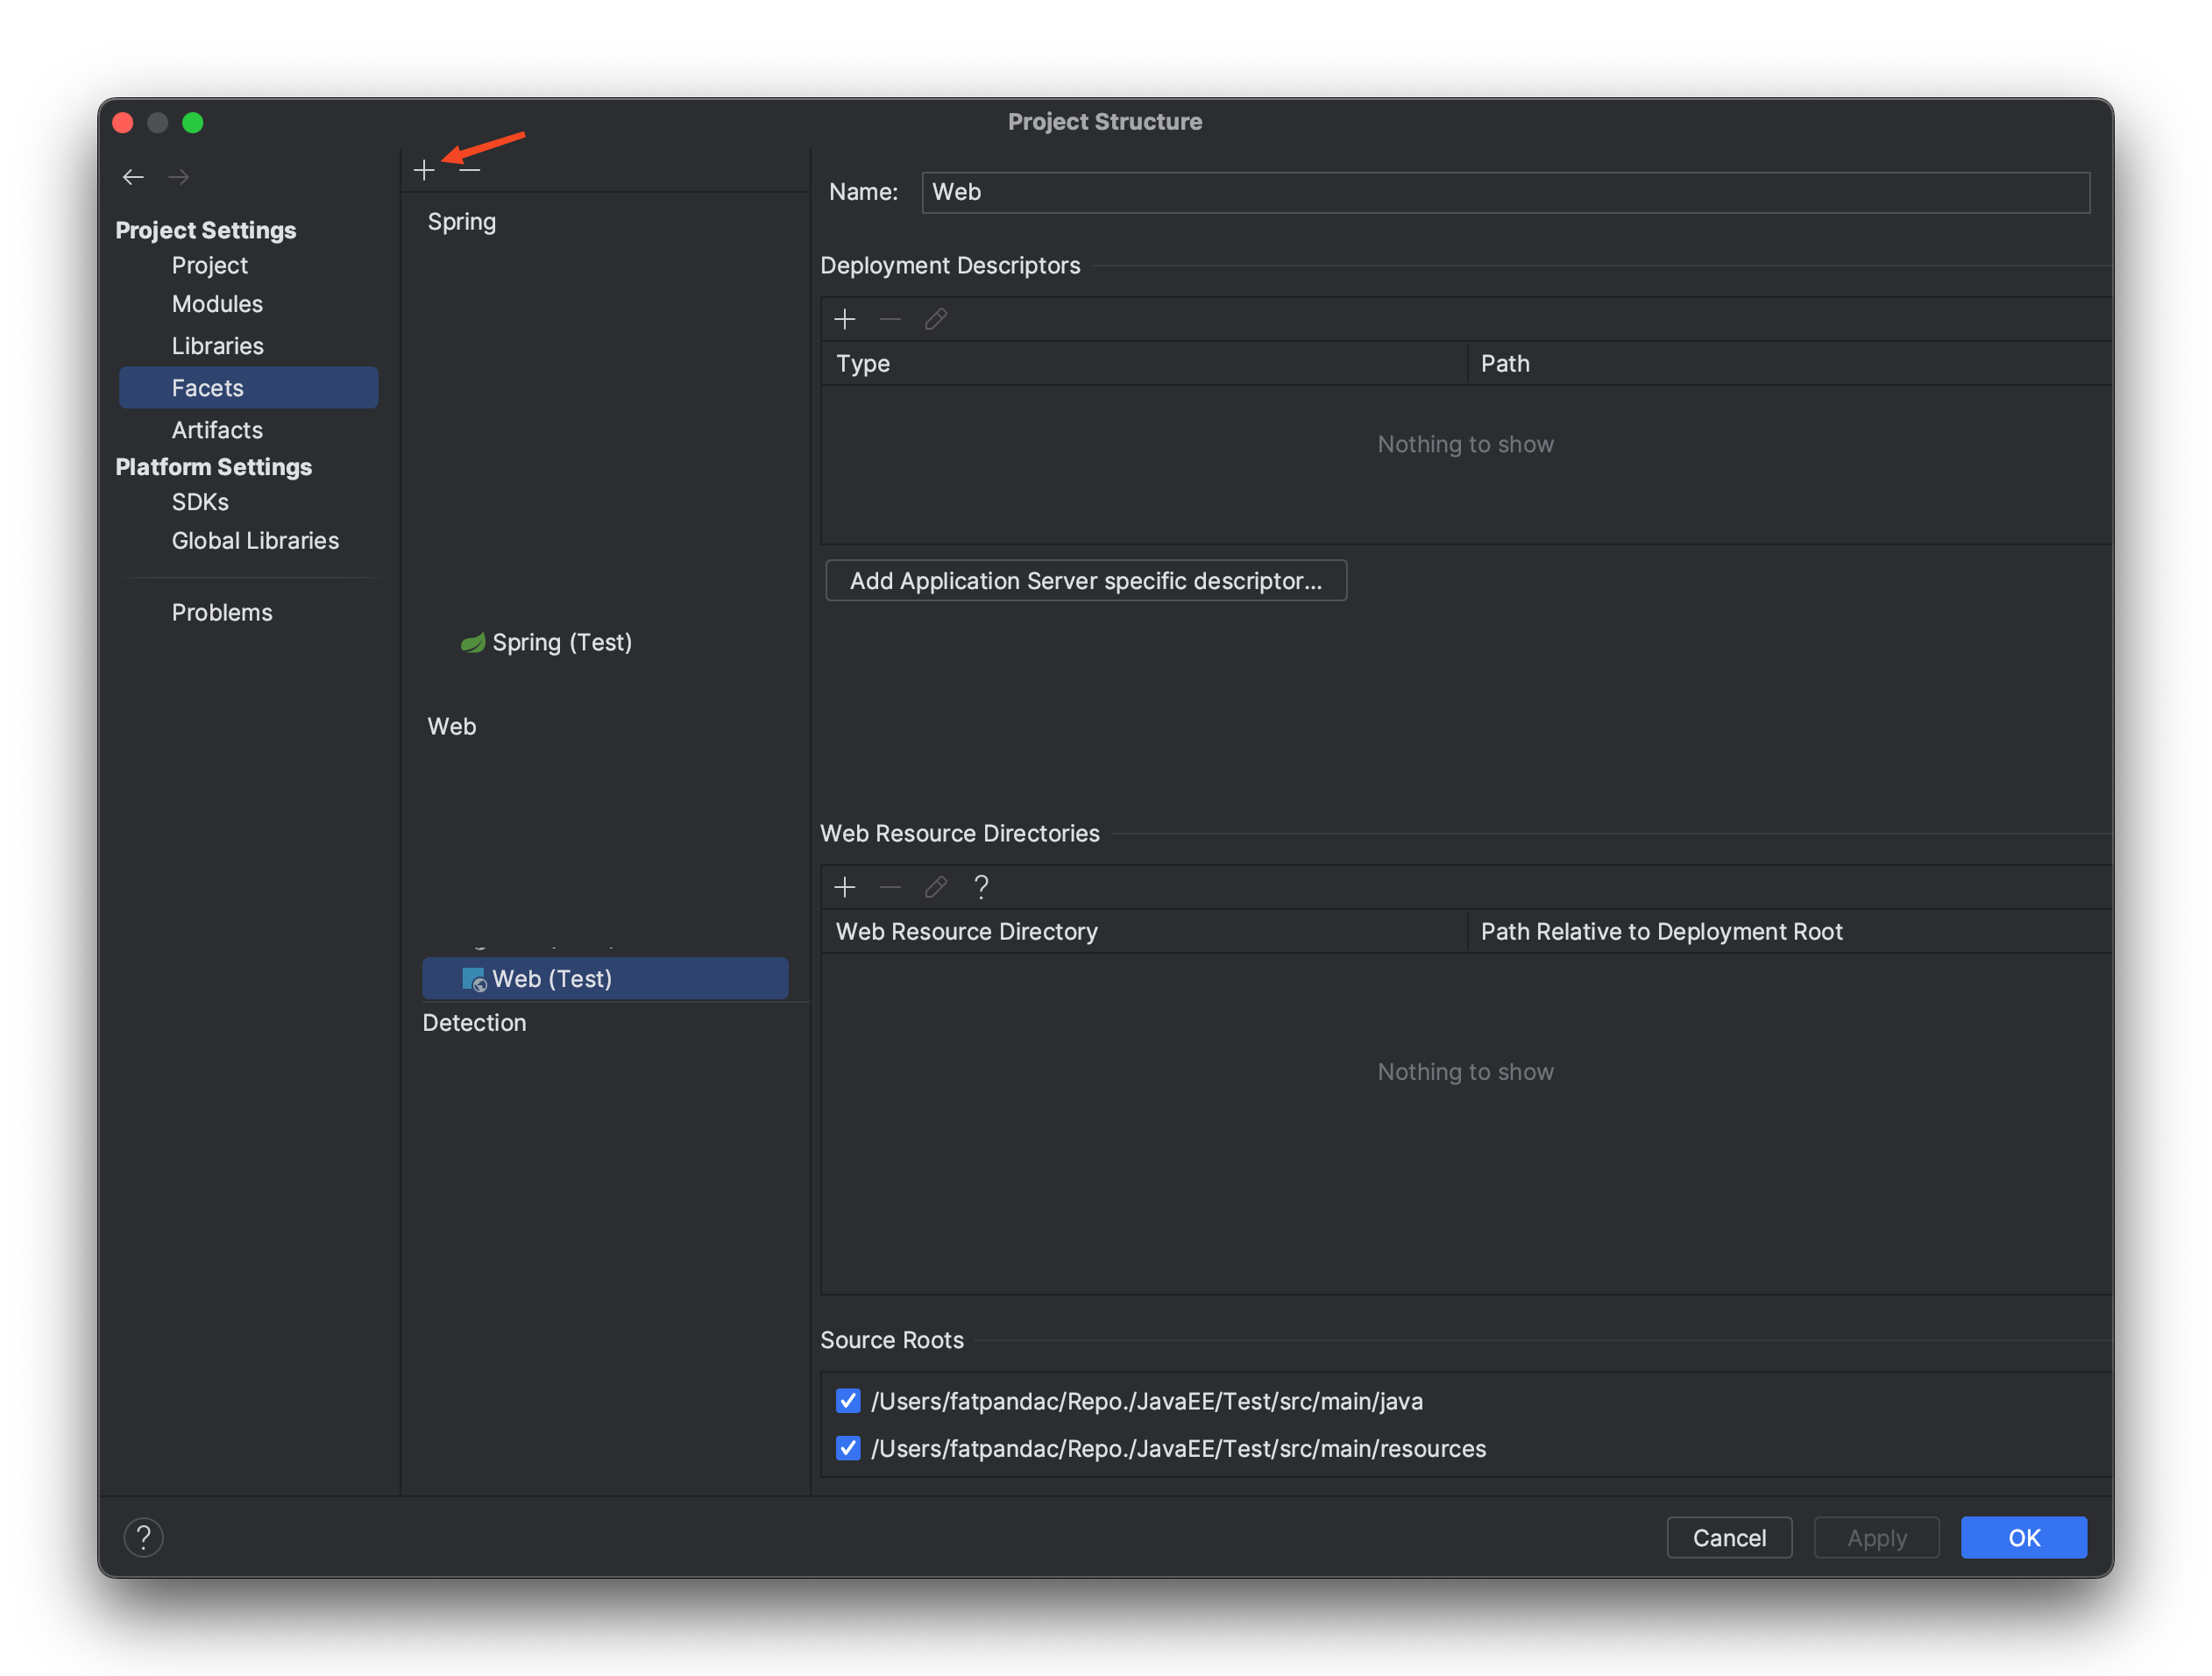
# Step 4: 配置项目 Web 源
进入项目结构配置页面,Mac 用户可以使用快捷键 cmd + ; 进入。
选择 Facets 选项,然后会看到 Web(你的项目名) 以及一个 Spring(你的项目名),如果没有你可以点击箭头所指的加号,选择 Web 再选择对应的项目,实现手动添加。
找到 Web(你的项目名) 这个你项目对应的 Web 之后点击,看到显示的 Web Resource Directories 栏,将里面的内容清空,然后点击栏内的加号输入刚刚创建的 web 文件夹路径即可,填写完后点击 OK 推出项目结构配置页面。
# Step 5: 编写配置文件
在 Java 文件夹下面创建一个包名为 config 用于放置配置文件

在包 config 下创建一个名为 MainWebAppInitializer 的 Java 文件,这个文件是用于引导 Spring Web 应用,相当于替换了原来的 web.xml ,内部代码如下。
import org.springframework.web.WebApplicationInitializer;
import org.springframework.web.context.support.AnnotationConfigWebApplicationContext;
import org.springframework.web.servlet.DispatcherServlet;

import javax.servlet.ServletContext;

public class MainWebAppInitializer implements WebApplicationInitializer {
    @Override
    public void onStartup(ServletContext servletContext) {
        var ctx = new AnnotationConfigWebApplicationContext();
				// WebConfig 是 spring 内部配置接口 WebMvcConfigurer 的实现,
				// 具体内容下面会提到
        ctx.register(WebConfig.class);
        ctx.setServletContext(servletContext);

				// 定义 Web 应用程序的入口点
        var servlet = servletContext.addServlet("mvc", new DispatcherServlet(ctx));
        servlet.setLoadOnStartup(1);
        servlet.addMapping("/");
    }
}
创建名为 WebConfig 的 Java 文件,用于配置 Spring ,其代码如下
import org.springframework.context.annotation.Bean;
import org.springframework.context.annotation.ComponentScan;
import org.springframework.context.annotation.Configuration;
import org.springframework.web.servlet.config.annotation.EnableWebMvc;
import org.springframework.web.servlet.config.annotation.ViewControllerRegistry;
import org.springframework.web.servlet.config.annotation.WebMvcConfigurer;
import org.springframework.web.servlet.view.InternalResourceViewResolver;

// 启动 MVC
@EnableWebMvc
// 将该文件设置为配置文件
@Configuration
// Spring 自动扫描并且装入bean容器
@ComponentScan(basePackages = "com.fatpandac")
public class WebConfig implements WebMvcConfigurer {

		// 添加主页路径并设置对应的页面(.jsp)文件
    @Override
    public void addViewControllers(ViewControllerRegistry registry) {
        registry.addViewController("/").setViewName("index");
    }

		// 配置 jsp 视图解析器
    @Bean
    public InternalResourceViewResolver jspViewResolver() {
        InternalResourceViewResolver bean = new InternalResourceViewResolver();
        bean.setPrefix("/WEB-INF/jsp/");
        bean.setSuffix(".jsp");
        bean.setOrder(1);
        return bean;
    }
}
# Step 6: 编写对应的页面
在 web 文件夹下面创建 /WEB-INF/jsp/index.jsp 文件,内容如下
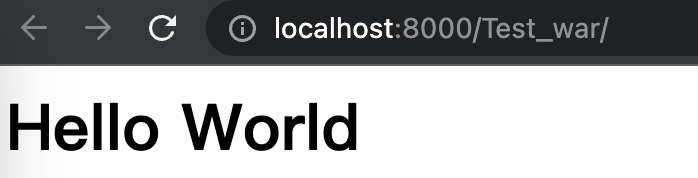
<h1>Hello World</h1>
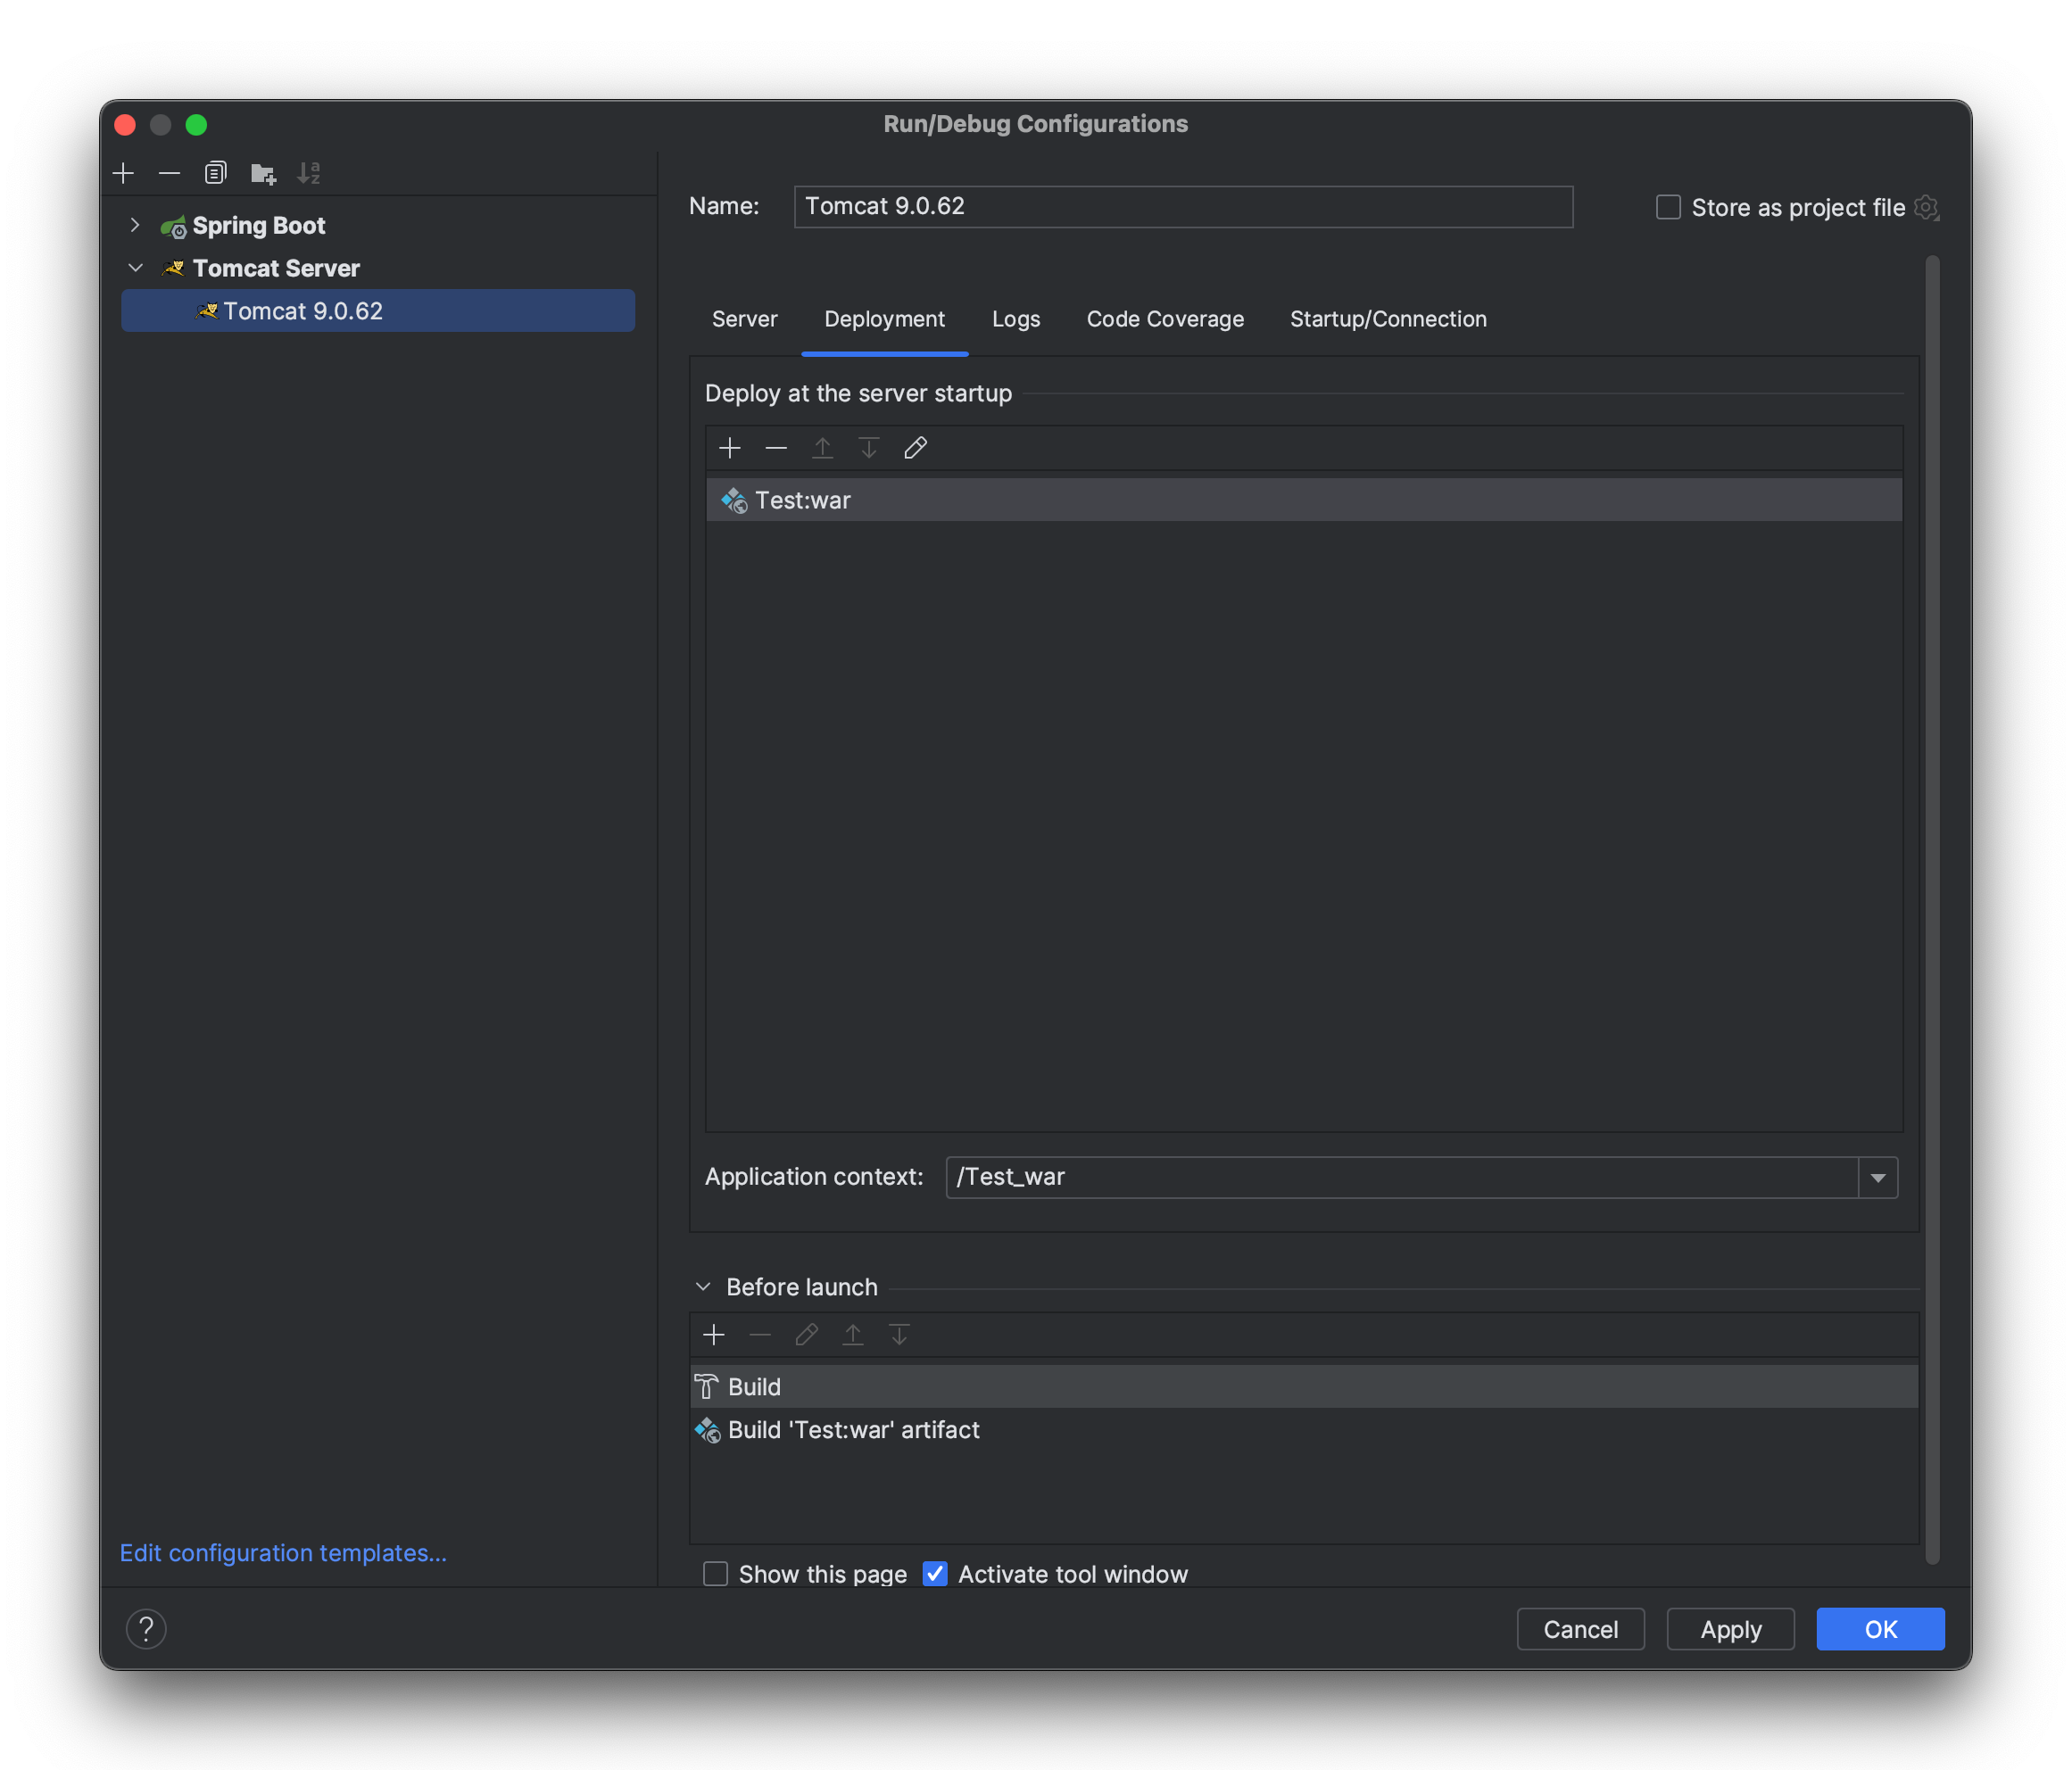
# Step 7: 配置 Tomcat
将对应的 Artifacts 添加到部署即可如下图
启动 Tomcat,成功运行如下图。